Kieran Gallagher
Follow along here to hear about how my research is going, and how I think about it situated in a growingly complex world full of wonder (and issues but...)
A Guide To Making Paper Piecing Quilts
08/23/2023
One of the things I enjoy doing is sewing. There are so many things that draw me to this form of making, from the incredible patterns to the usability to the problem solving. Paper piecing, also called foundation piecing, is a big challenge in the problem solving category, sometimes to a frustrating degree.
I have so much to still learn about it so don’t take this as a full, comprehensive, most effective guide, but more as what I’ve learned and what has helped me. Also! You can find patterns, free or paid, that you can use. I really like the experience and freedom of creating your own, so that’s where I will start.
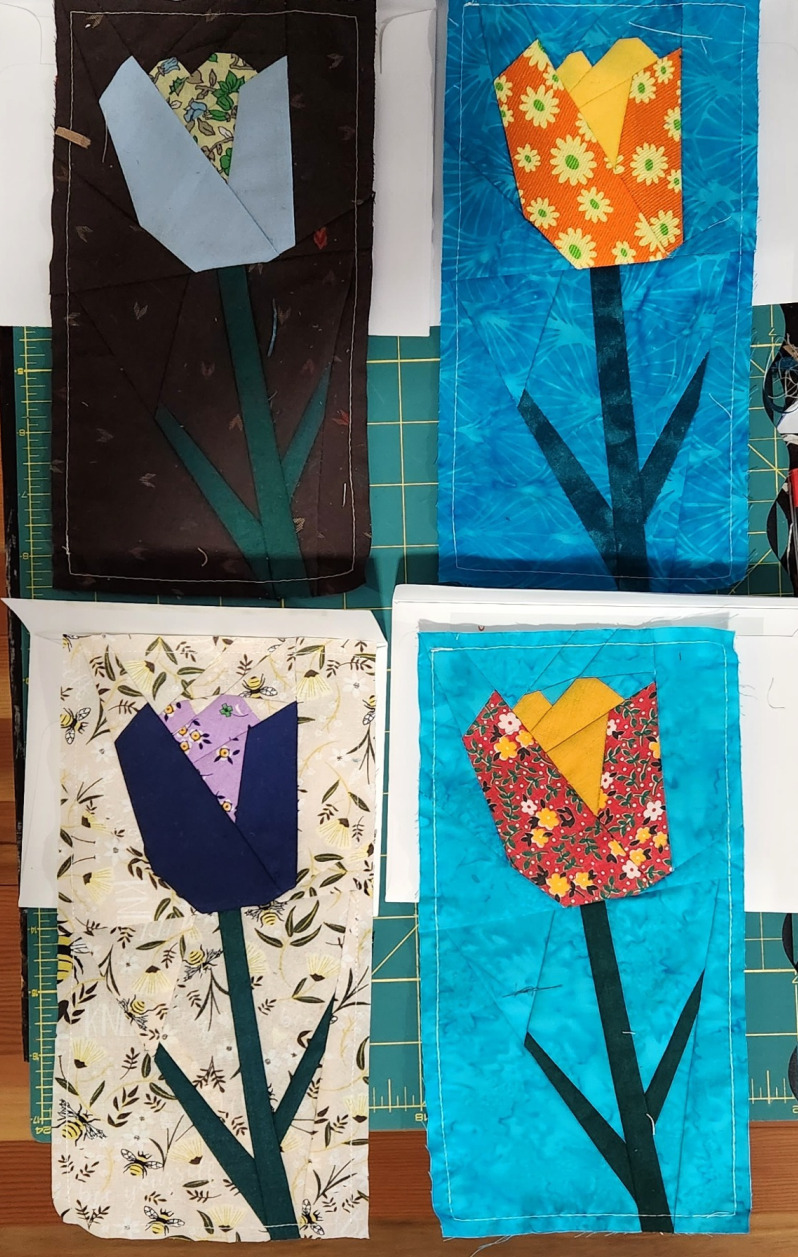
Step One: Converting an Idea Into a Pattern
Once you have an idea of what you want your piece to look like, you have to figure out how to make it quiltable! This means a few things: 1) straight lines, 2) a plausible order to sew into the finished product, and 3) connections that won't be too challenging to practically do. We will take this one part at a time.

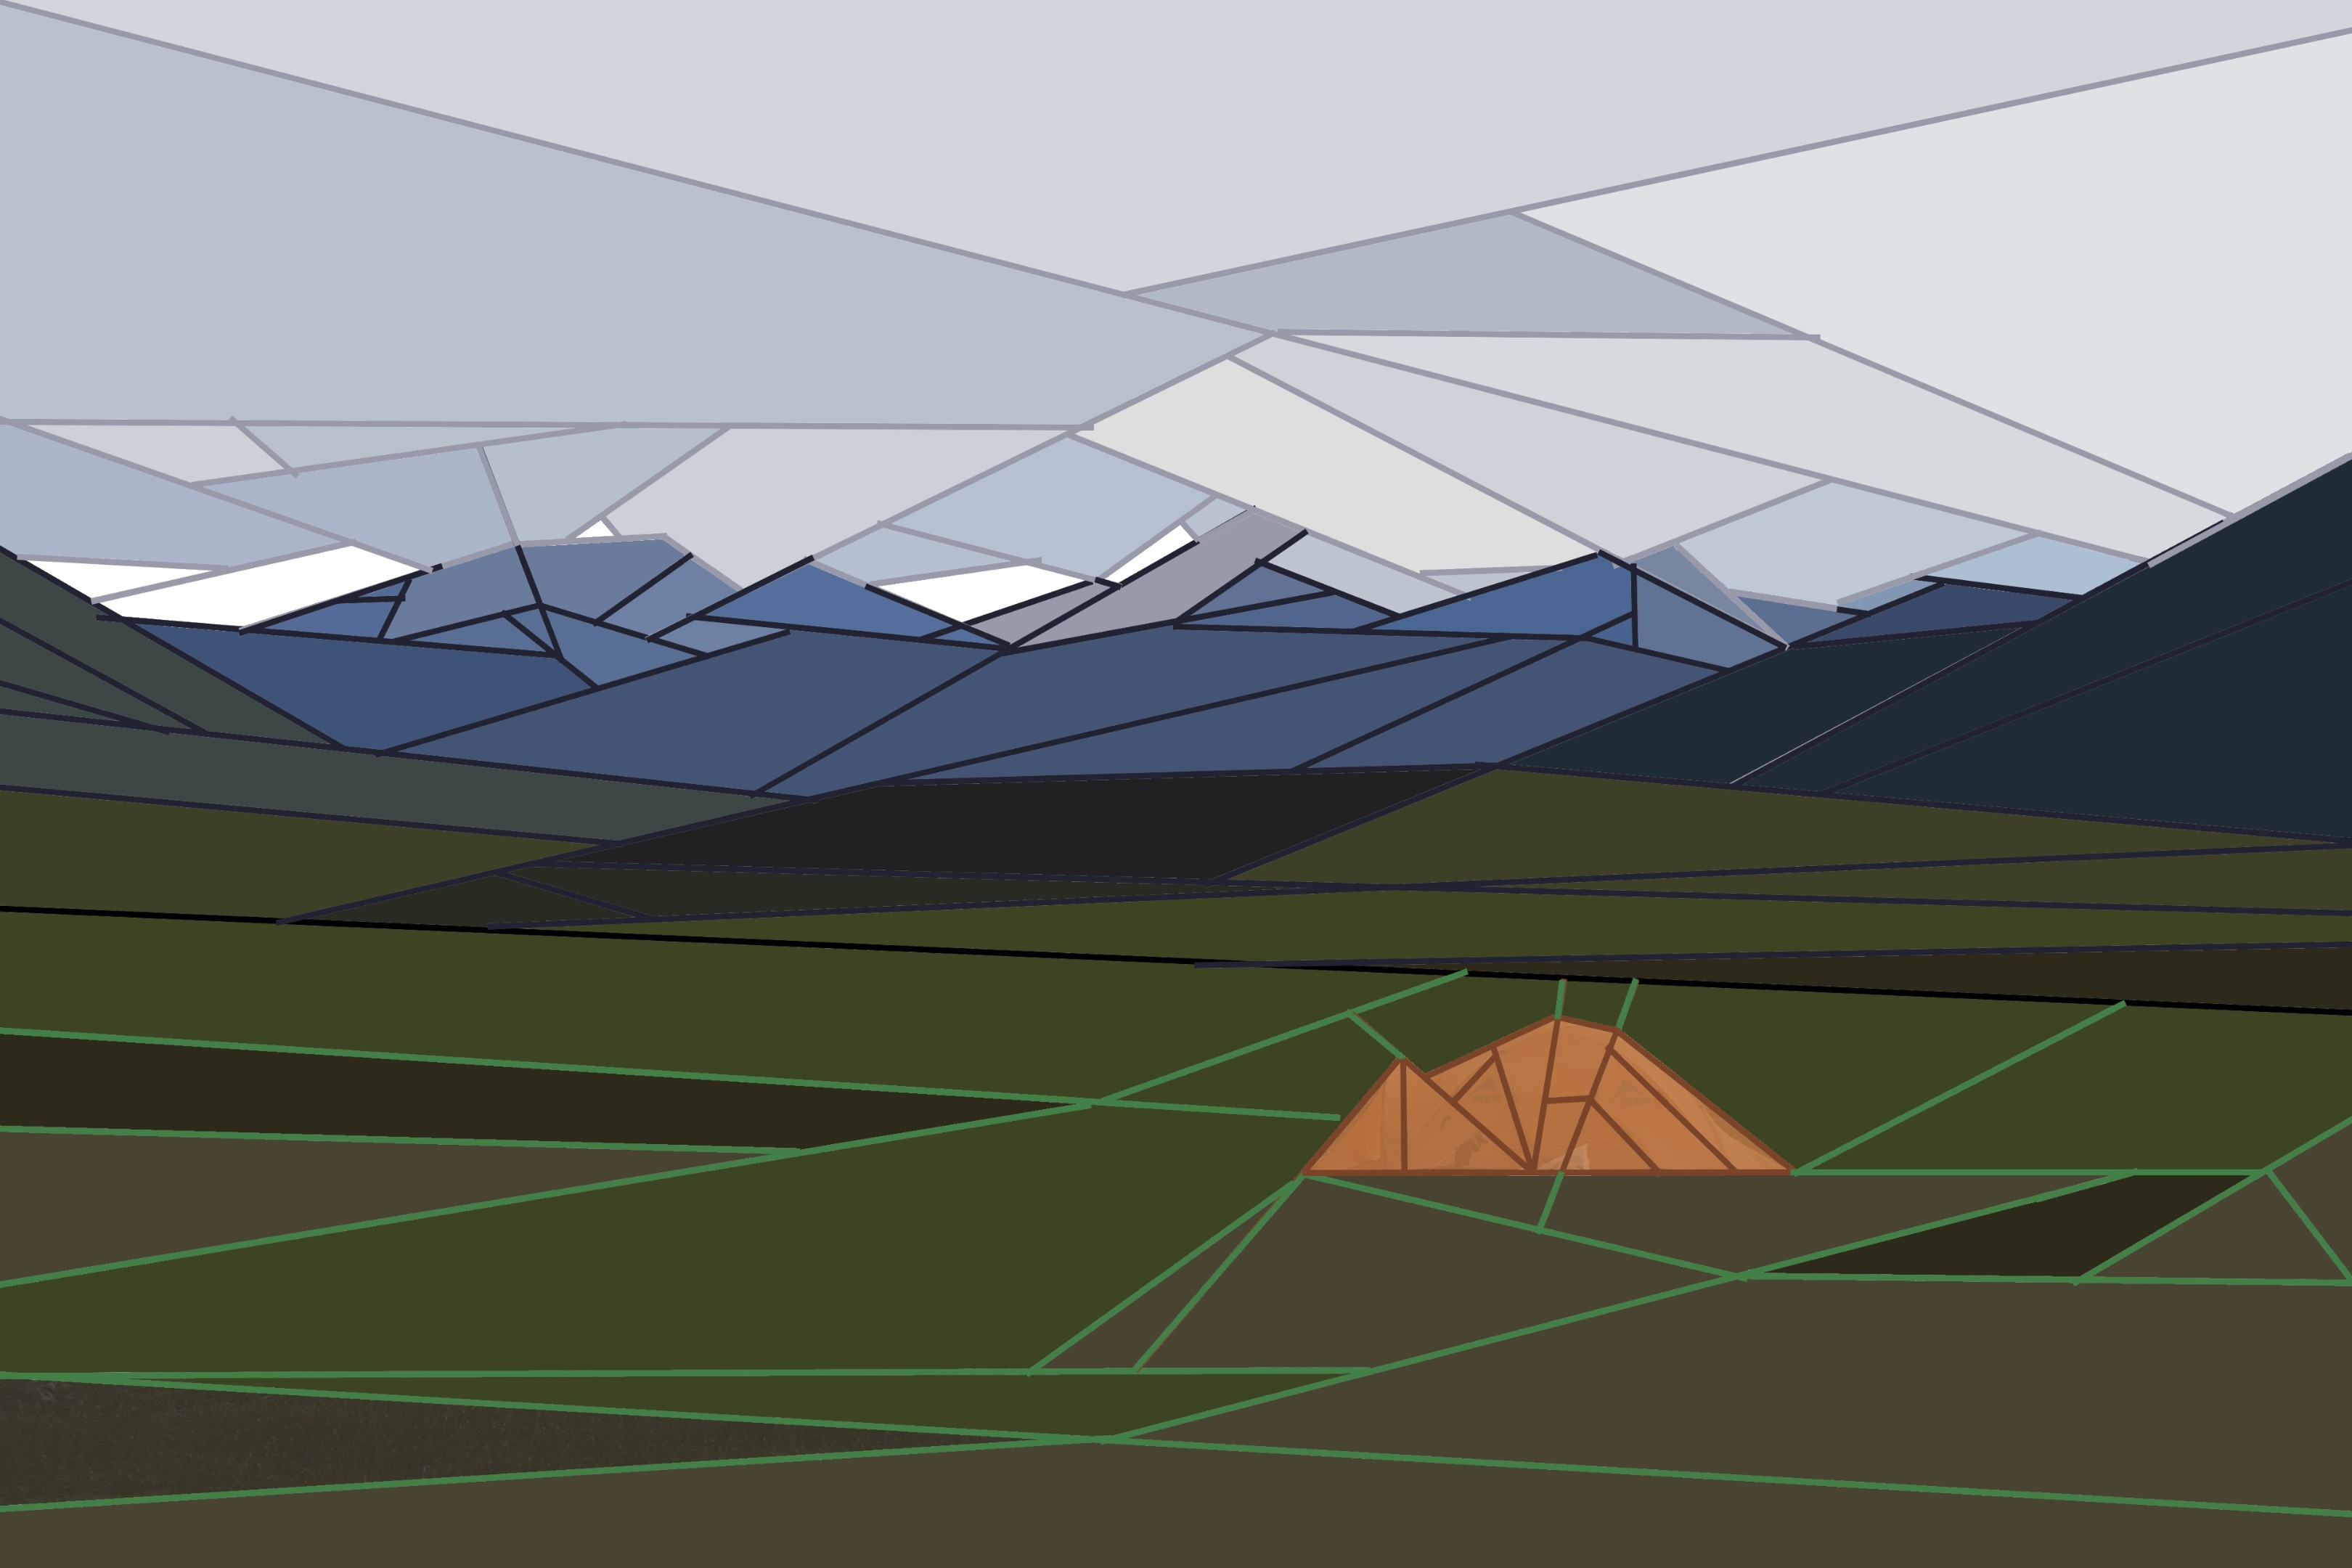
While you don’t need the lines to be straight to sew them, cutting the correct pieces will be harder and take more skills than I’ve been willing to try. This looks different depending on what you are making, but the two ways I have done it are starting from scratch or directly following a reference image, either by hand or with a photo editor, such as photoshop or pixlr. Shown above is an image that I wanted to turn into a quilt, so I loaded it into pixlr and started using the line tool to follow the contours that I thought would translate the image nicely to the sewing medium. Below, is a freehand pattern I made for a tulip. It started a little looser, but by the end I was using my cutting ruler for straight lines.
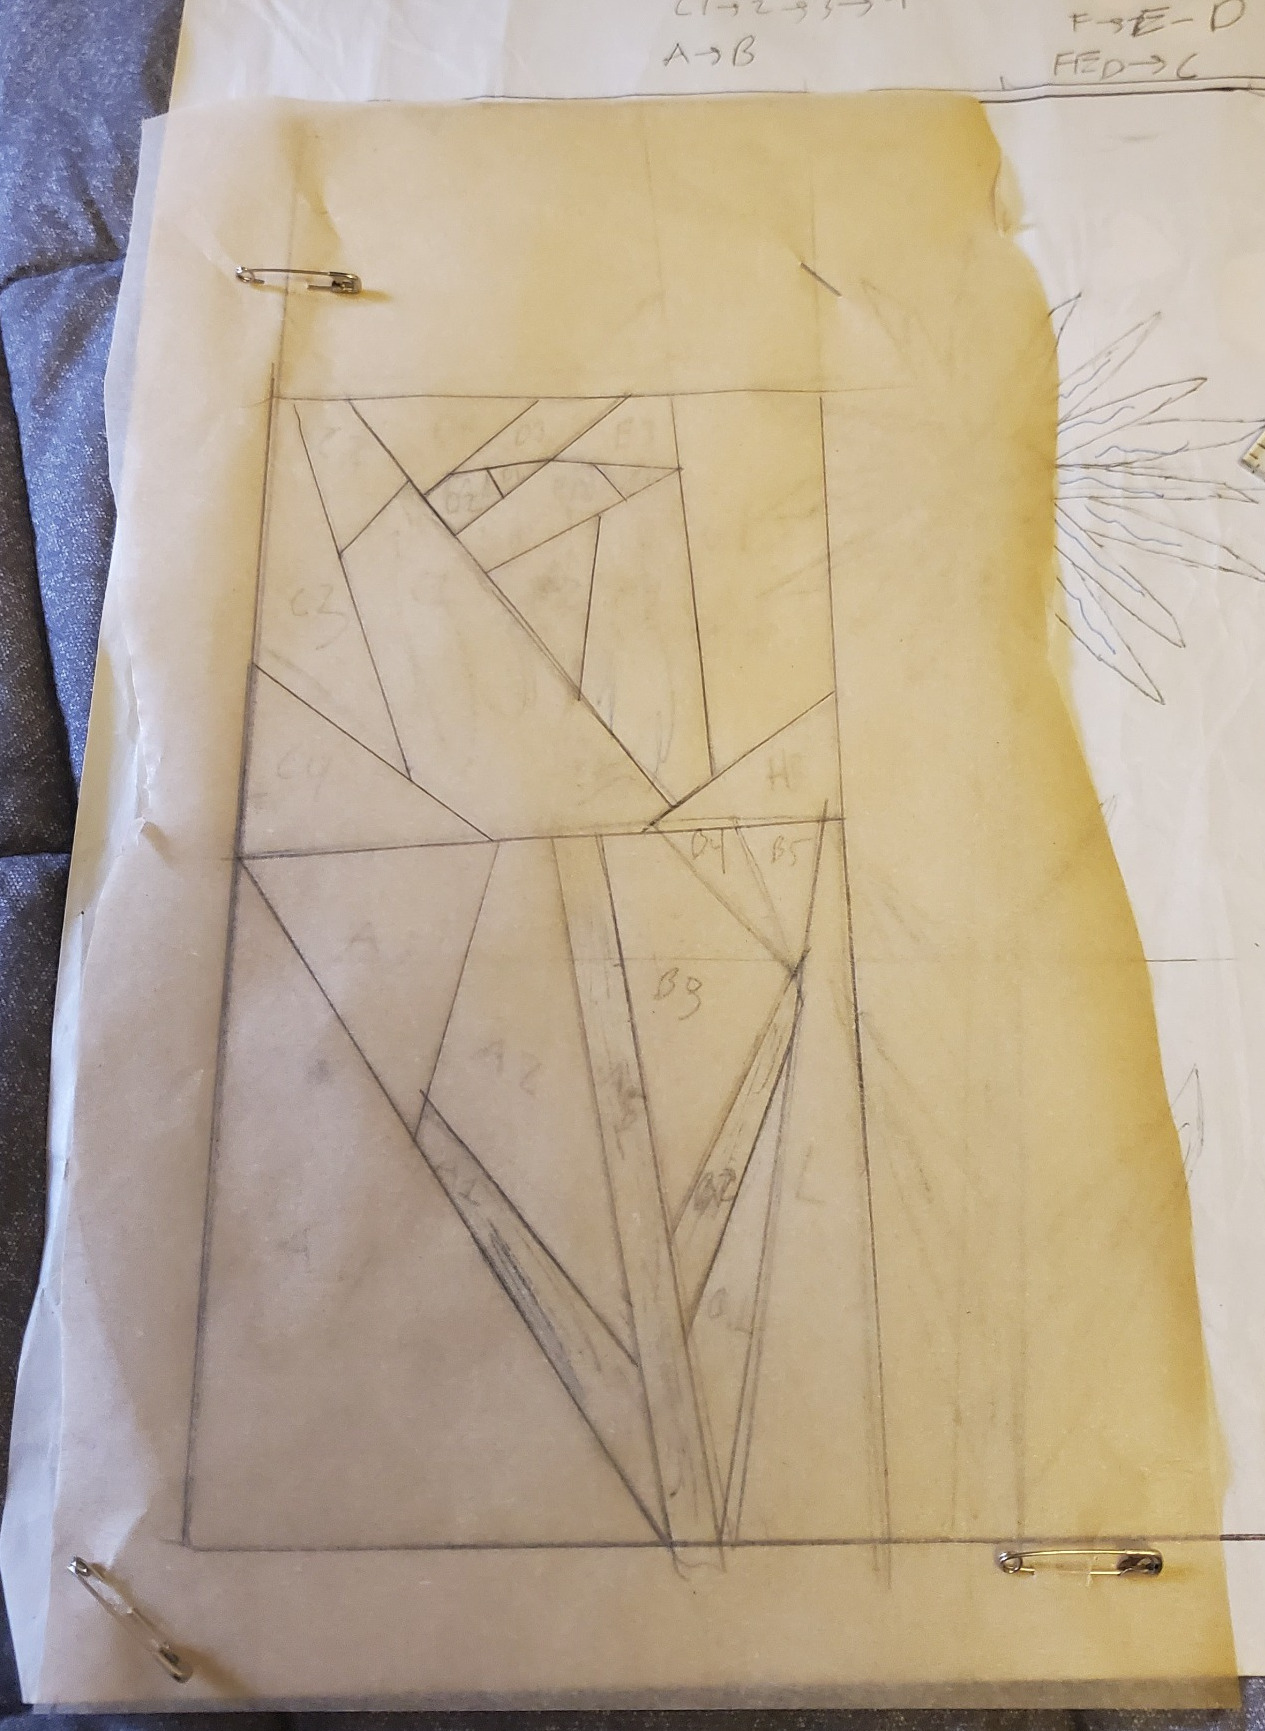
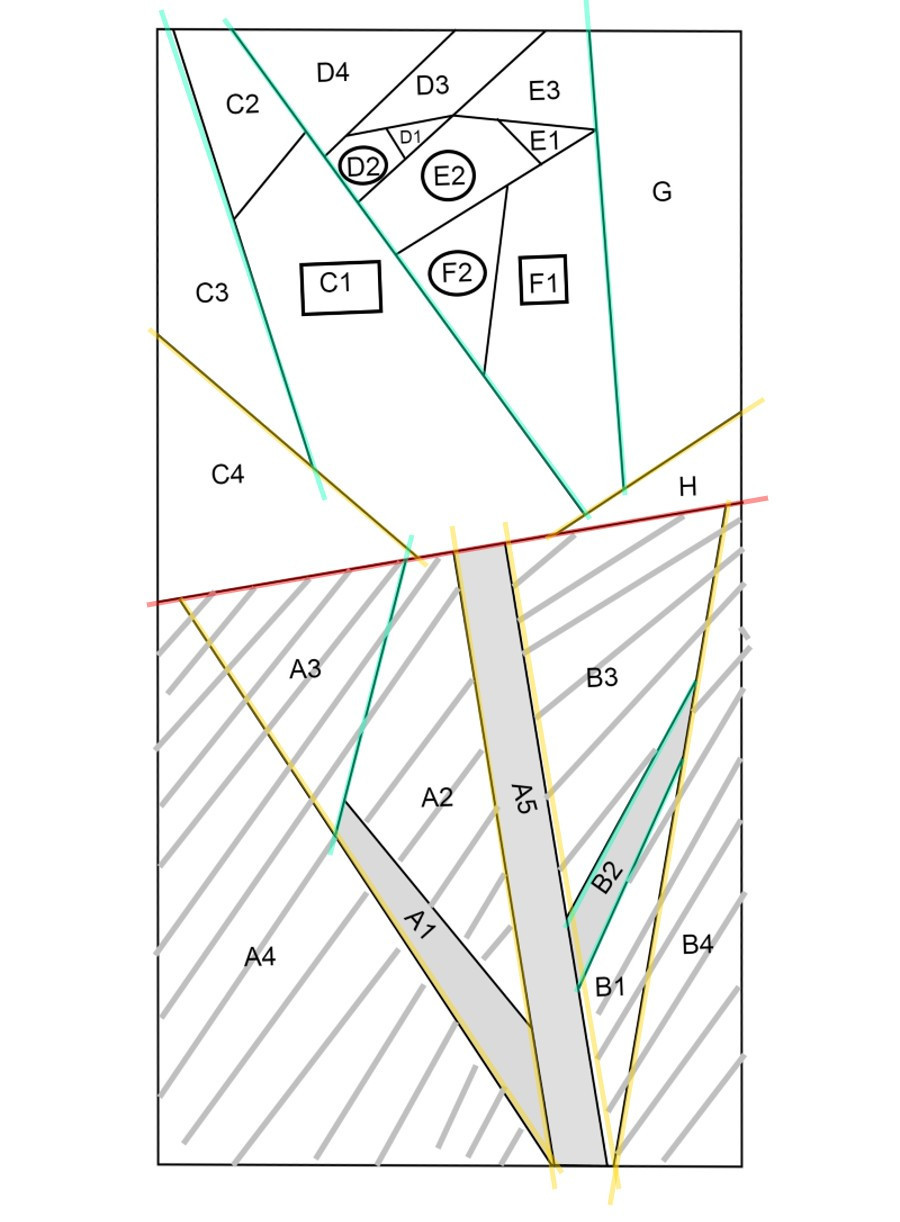
Once you have a rough draft of that, you need to make sure there is a way to sew all the pieces together. For instance, you cannot be left sewing the pieces to the right together, because the corner would not be very fun, and can bunch things up. This part can be tricky (hence the problem solving) and not easy to explain, but the best way I can do so is if you work backwards from the fully put together image, there must be a straight line that cuts across the whole image. In doing so, you have 2 pieces, and each piece must have a straight line that cuts across that chunk. This continues until you are left with single shapes.

My tulip pattern above is cut as such, where the red line is the first cut (and final thing I would eventually sew together), yellow are the next options, and blue is the third layer, and so on. As shown in the example, there can be more than one split you could make, and that's okay! In doing this, it also helps you develop the order you want to sew them together in. As you can see, I labeled each piece with a letter for the chunk it is in, and a number just to help put it together. There are many ways to do this right, so just make sure you understand it and it works for you! For this example, I would write out an order of operations that looks like:
A1→A2→A3→A4→A5, B1→B2→B3→B4, A→B, C1→C2→C3→C4, D1→D2→D3→D4, E1→E2→E3, F1→F2, F→E→D→G→C→H→AB
It’s pretty simple for smaller projects but can get much bigger for larger ones, like the mountain piece.
Other things to consider are how small the pieces are and how many intersections come together and the angle of the intersections. The smaller pieces can be hard to control and leave a larger margin or error, but can be okay. If you have many intersections coming together, it makes it hard to iron the piece flat, which can lead to undesirable poofing and puckering. And sometimes, if you are connecting pieces together with angles far away from 90 degrees, like B1 and B2, it is easy for the fabric to stretch and pull and not line up super well, leading to more struggles. Once you are done with this, time for the next step!
Step Two: Transferring, Cutting, TWICE!
For this next step, you need some wax freezer paper, a lot of which will advertise its art uses like this one on the side. With this, you transfer your pattern to the paper, where the waxy side of the paper is what you are drawing the lines onto. I would use a ruler again here for the straightest lines possible. Then, FLIP the freezer paper over and label each piece (also possibly labeling it with the fabric it will be), before cutting the pieces out. Use something that will give you, surprise surprise, straight lines.
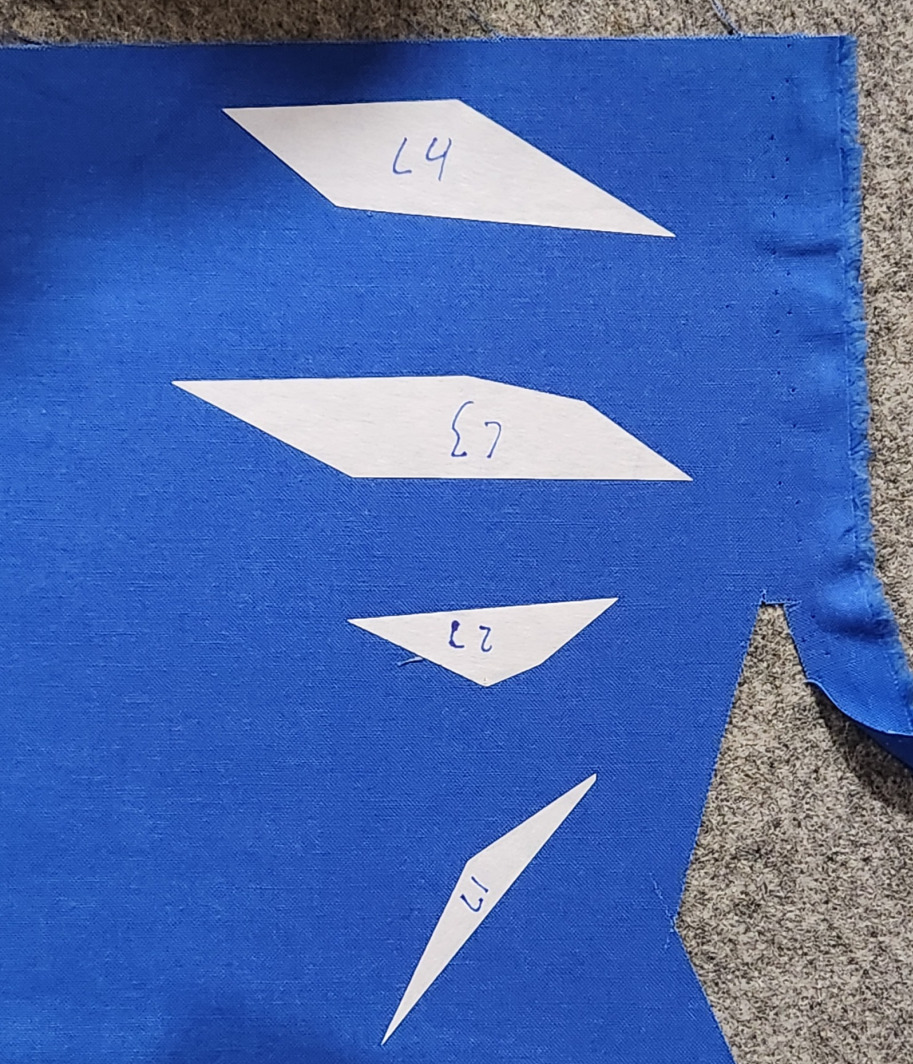
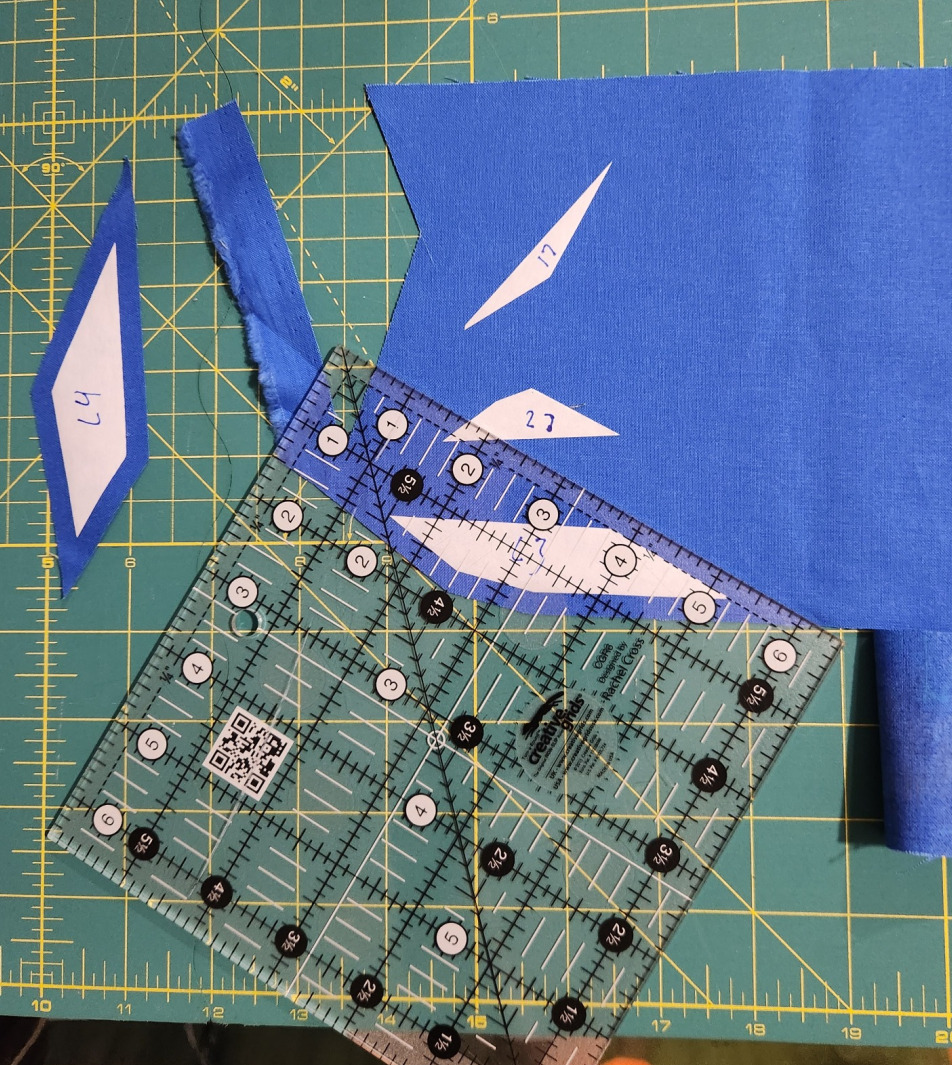
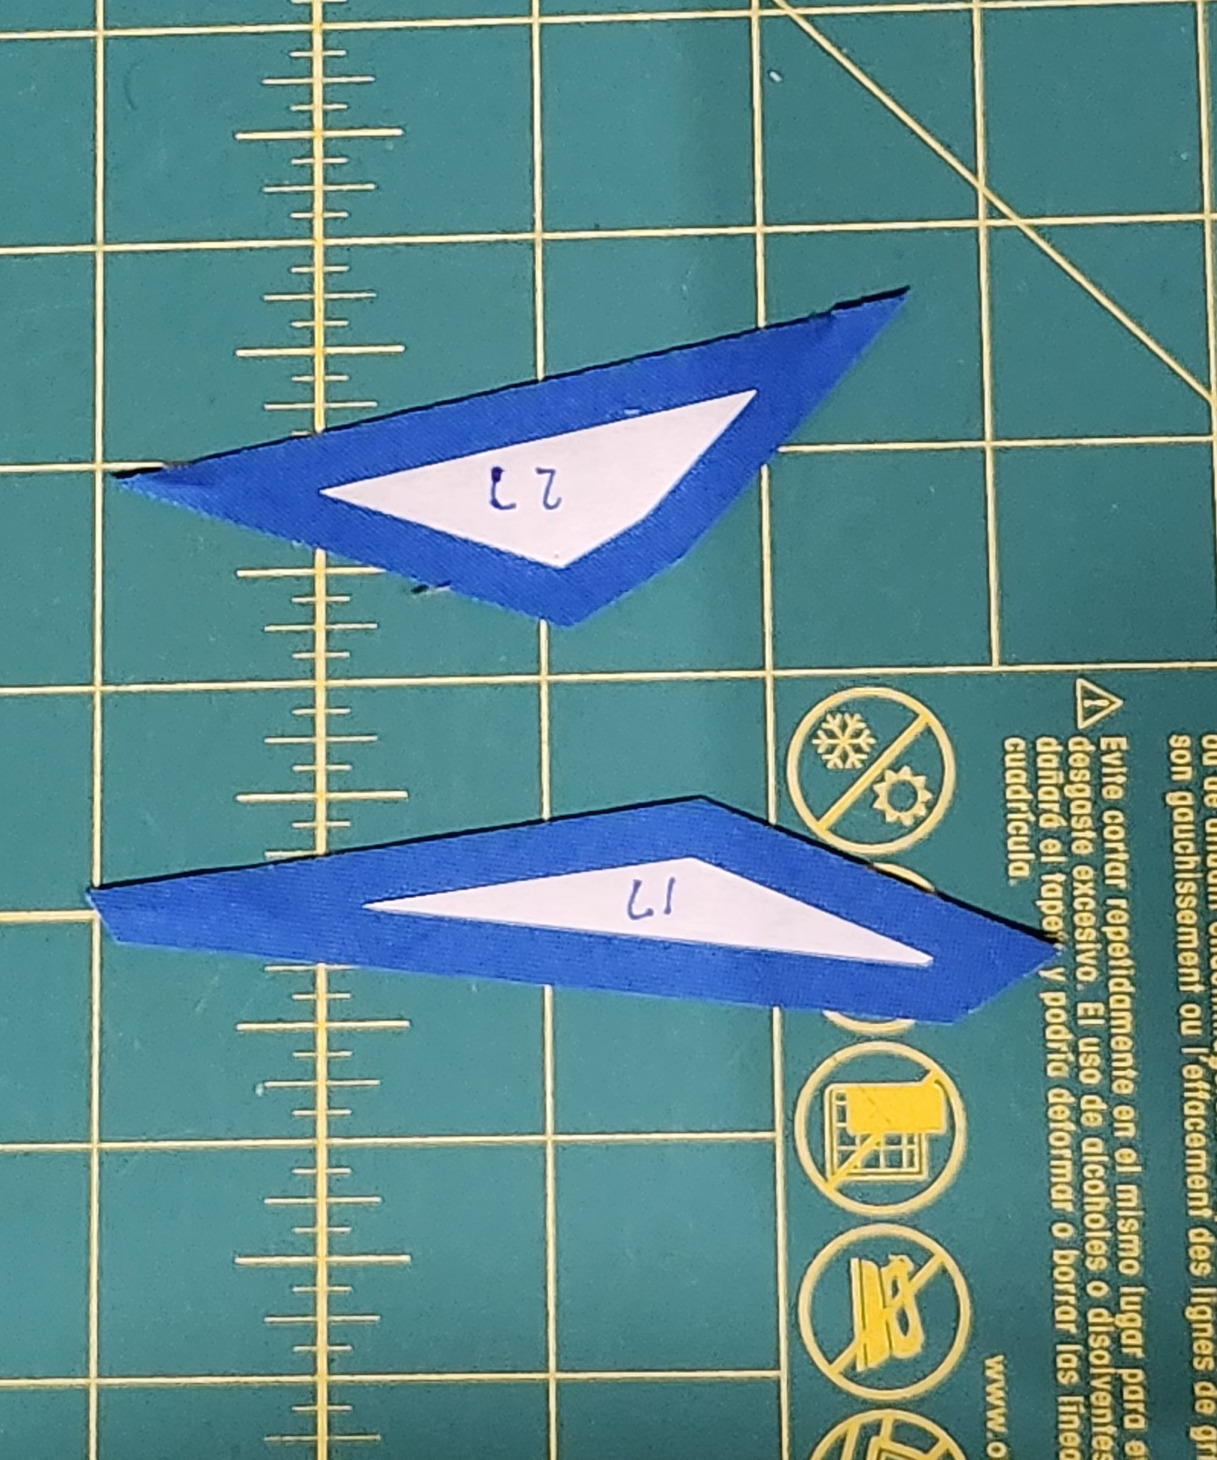
After the pieces are cut out, they can be used to make the fabric pieces! The reason why we use the waxy freezer paper is because you can iron (on a low setting!) the waxy side to the fabric for cutting purposes. Make sure to iron the waxy side to what will be the BACK of the fabric/quilt. Once a piece is sufficiently attached, cut the fabric out with a ¼ inch allowance, I.E. line up the ¼ inch line on your cutting ruler with the adhered paper and cut there. Soon enough, you will have all of your pieces cut out! Hurray! Onto sewing!

Step Three: Sewing it All Together
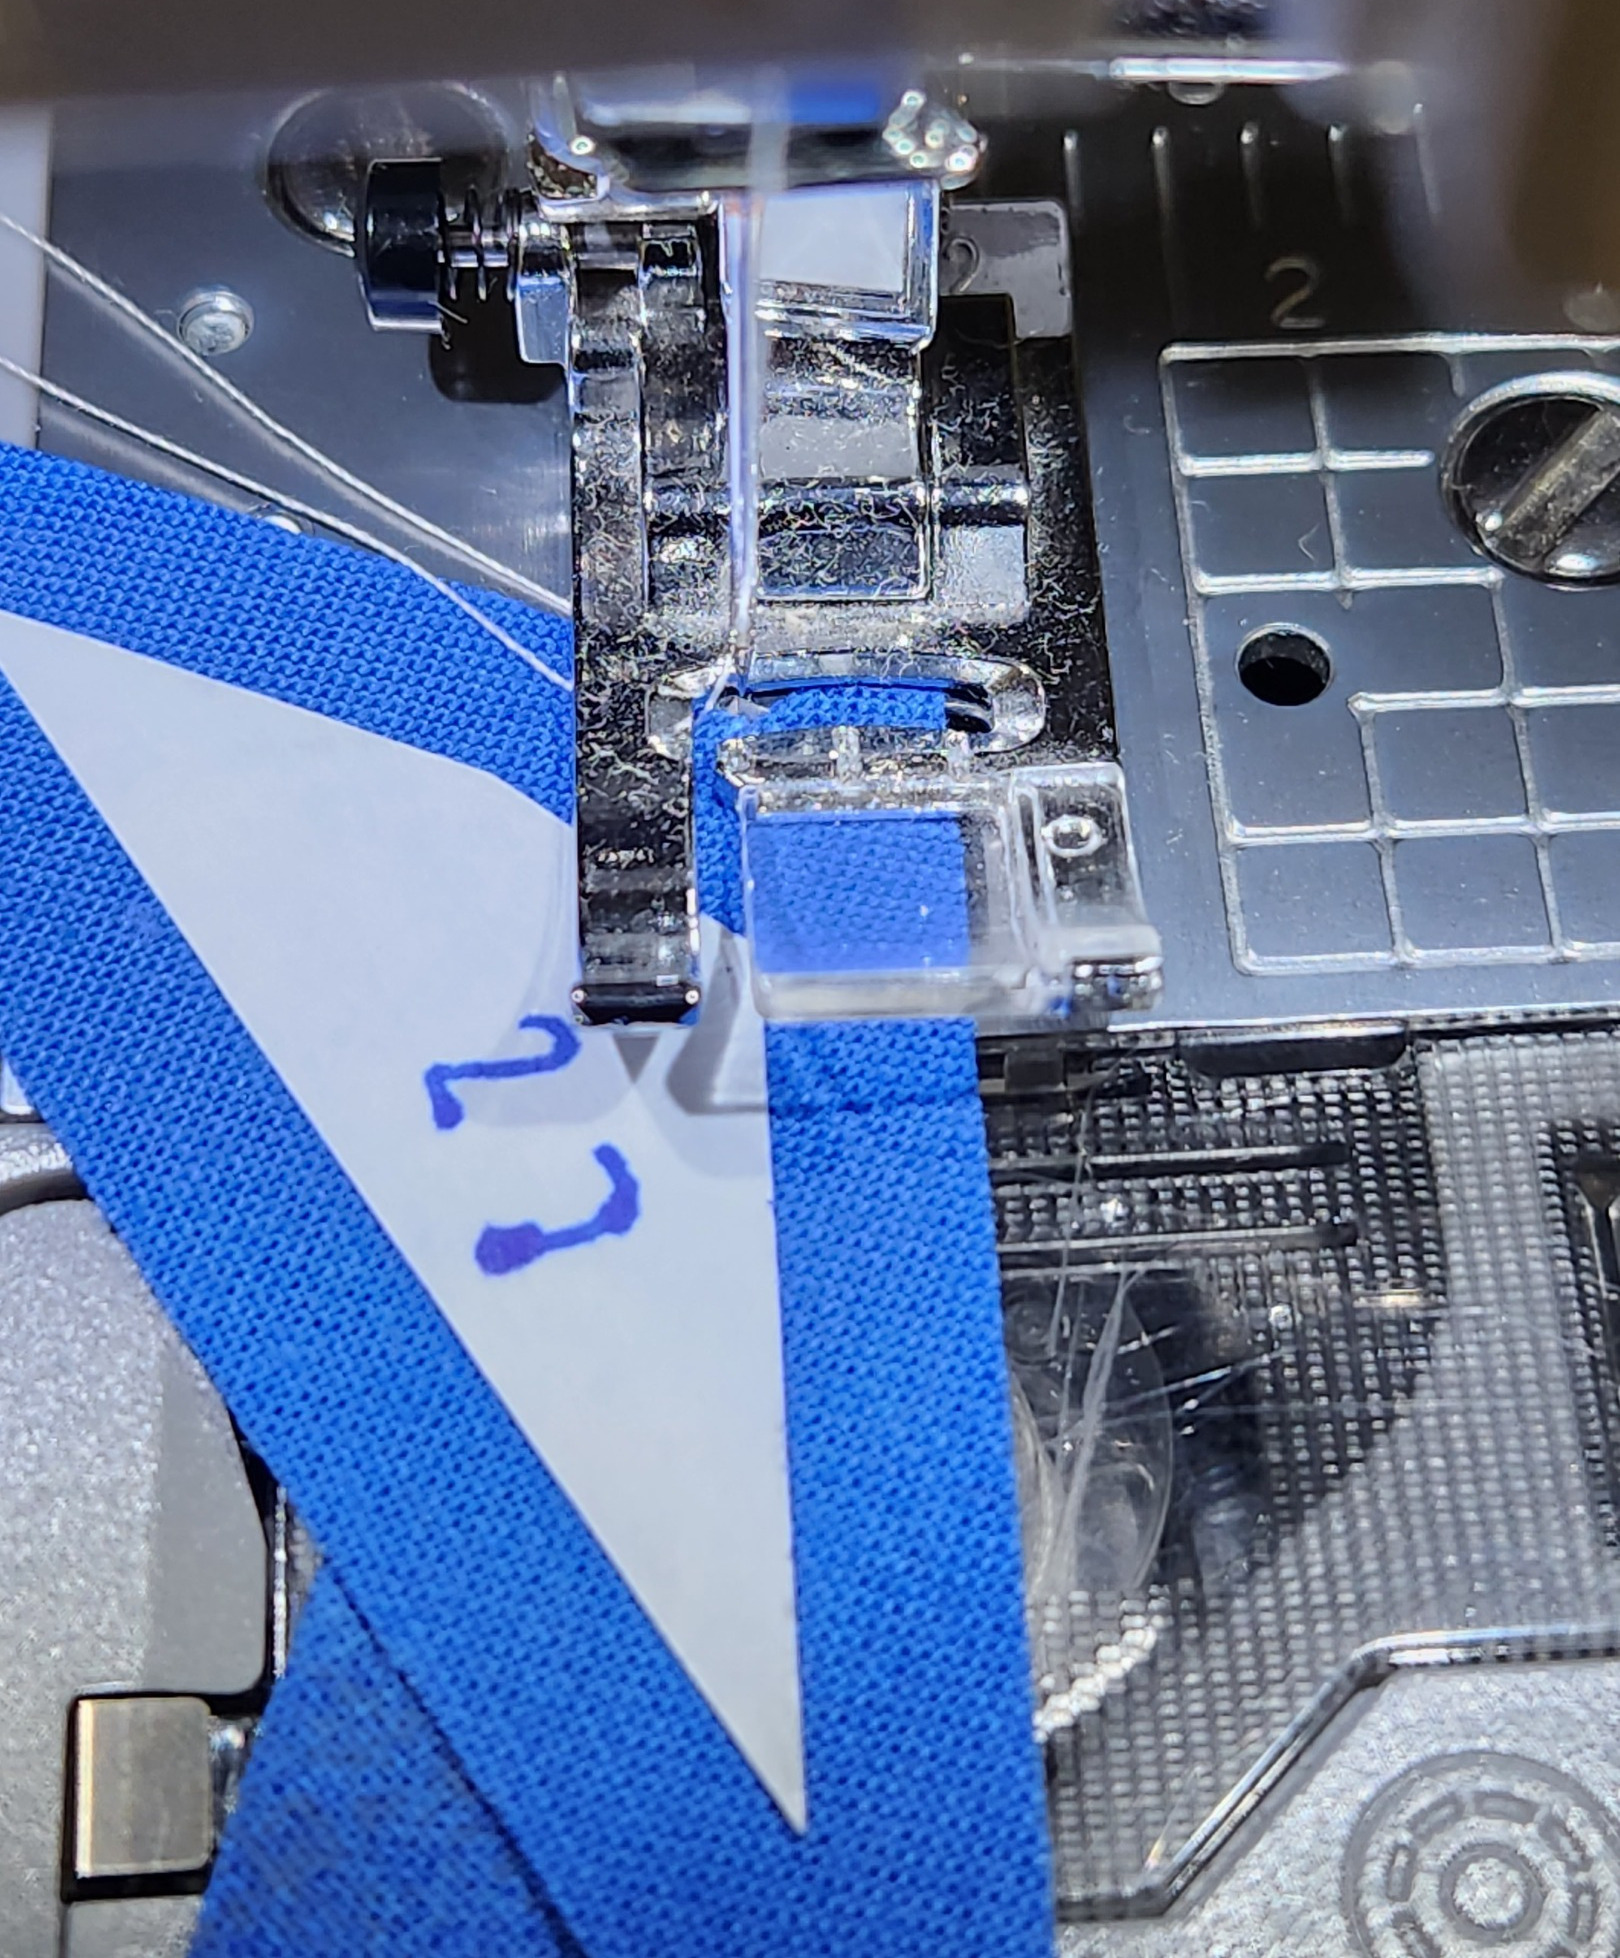
Now comes the fun, and challenging! part: putting it together. Start by lining up the edges that will be sewn together, with the attached freezer paper sides pointing away from each other. Unlike sewing things that have 90 degree angles, the start and end edges will not line up, which makes connecting the pieces a little bit trickier. The way to correctly attach the pieces is to line it up where the two segments intersect at ¼ inch off the edge you are sewing, so your first stitch is exactly where they intersect. NOTE this is only the case if the two segments will connect to make a longer straight line, as shown below. This can be annoying at first, but gets a little quicker as you start to understand what a quarter inch looks like. Once they are sewed together, the stitches should be right next to/on top of the freezer paper on both sides.
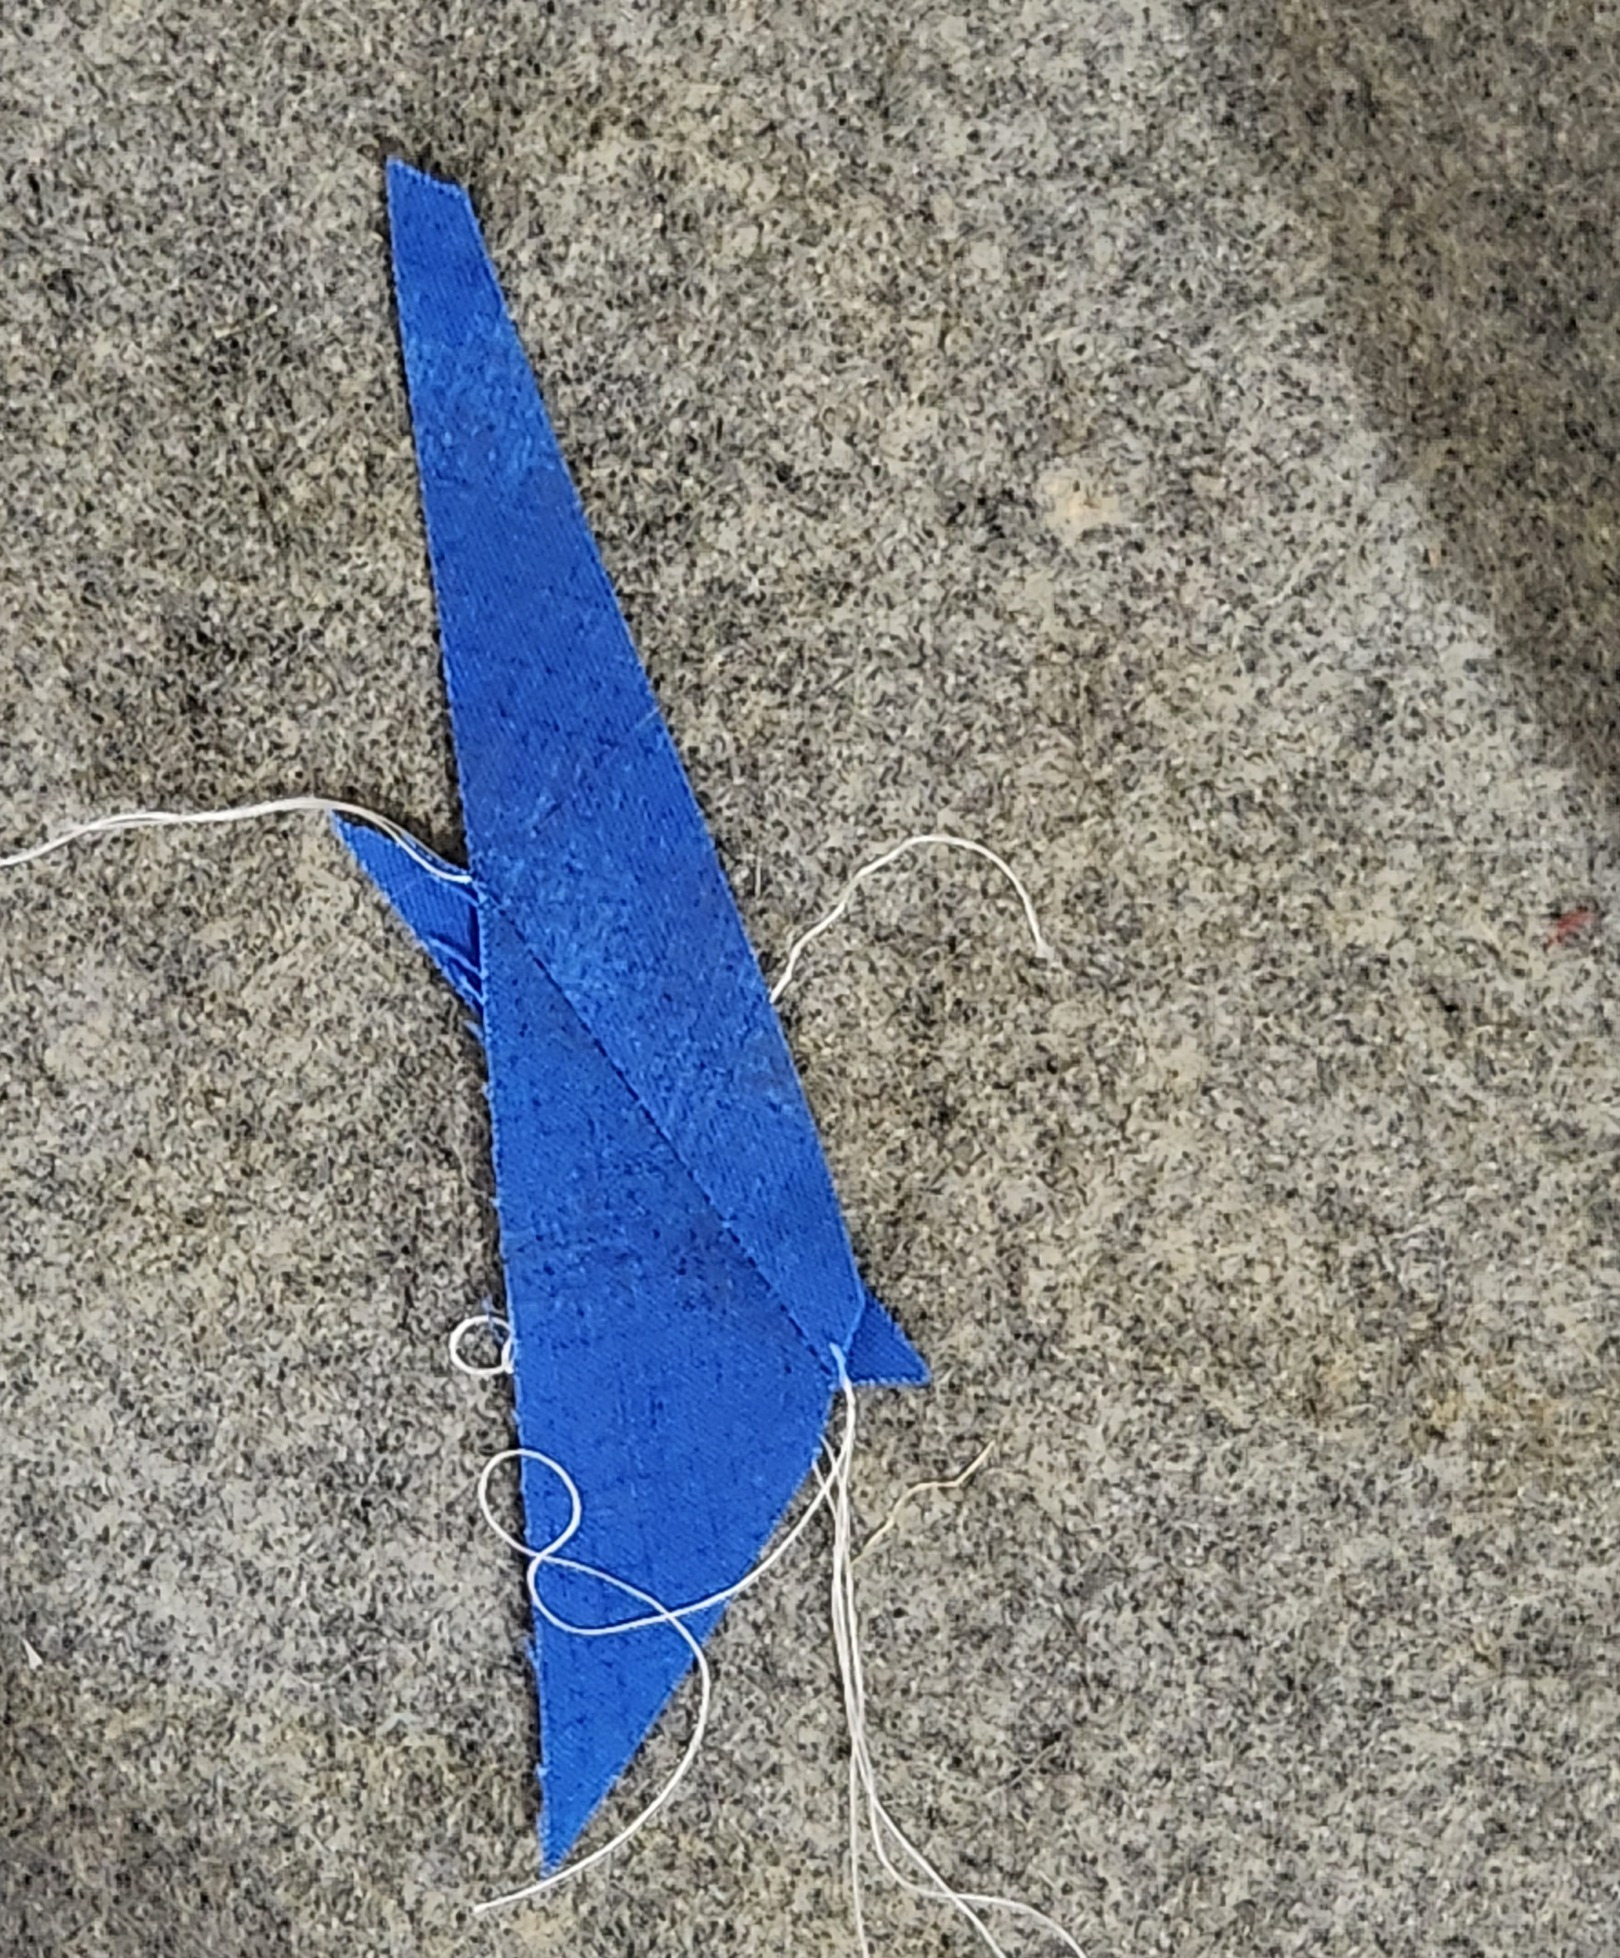
You can either remove the freezer paper now, or leave it on for a little extra stability, which can be useful especially for longer, skinnier pieces. Follow the steps you outlined above, and there you have it! Your own paper piecing work! Congrats! As with most sewing projects, it may take a little bit of fiddling to get it to line up well enough for your liking, and it’s much harder to know where the issue is coming from in comparison to a simple square quilt, which can be frustrating. However, depending on the piece, it will be harder to notice if things don’t quite line up which can work in your favor. If you feel inspired to take on either of the pieces I’ve talked about, email me and I can send the files your way, and obviously let me know if you have any questions about any of this.
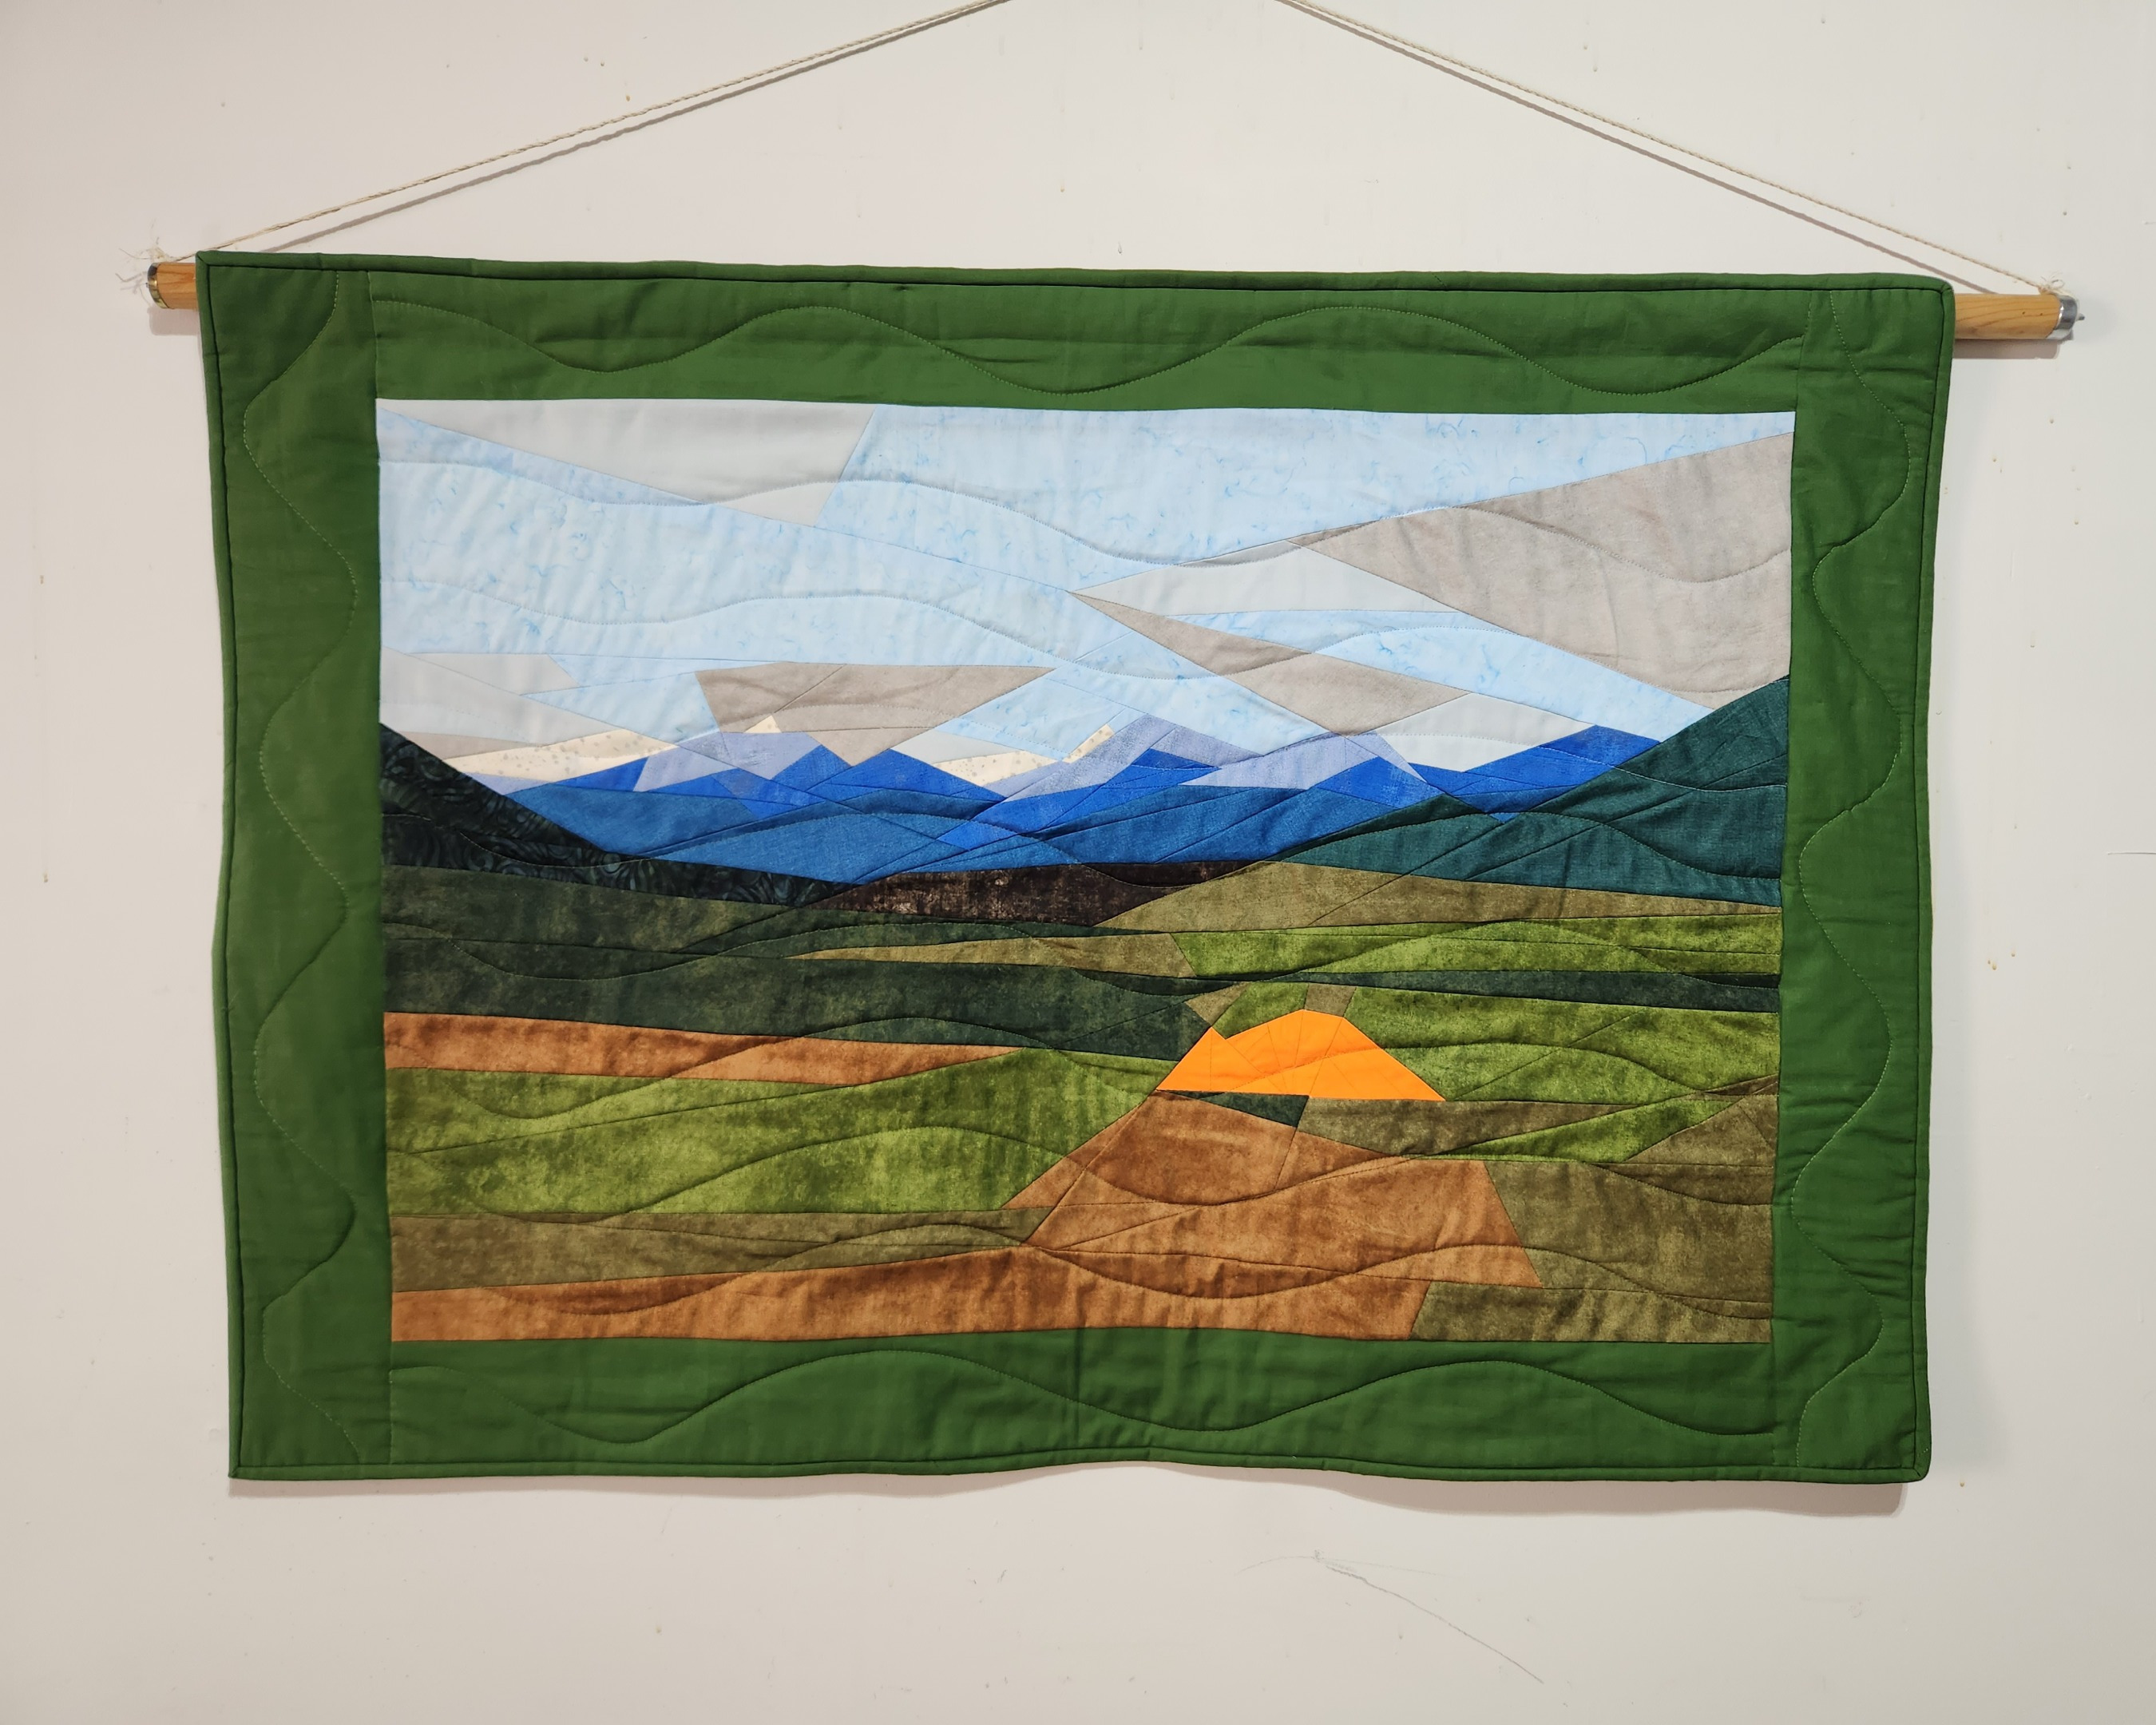
Here is the finished mountain piece:
Thanks for reading and happy making!